Migrate from Coinomi
IMPORTANT! THE MIGRATION CAN ONLY BE DONE THROUGH :<br/ > 1. THE OFFICIAL GEN2 ENERGI CORE WALLET (RECOMMENDED)<br/ > 2. ENERGI NEXUS<br/ > 3. GEN3 CORE NODE (ADVANCED USERS ONLY)<br/ >
BEWARE OF IMPOSTER WEBSITES CLAIMING TO MIGRATE YOUR COINS, OR SCAMMERS OFFERING “HELP”. ADDITIONALLY, BEWARE OF ANYONE IMITATING ENERGI TEAM MEMBERS (USING THE SAME NAME/PROFILE PICTURE), WE REMIND YOU THAT WE DO NOT OFFER SUPPORT THROUGH PRIVATE MESSAGES. WE TAKE SECURITY SERIOUSLY AND WORK WITH LAW ENFORCEMENT TO APPREHEND CRIMINALS — IF YOU SEE ANY SUSPICIOUS ACTIVITY PLEASE IMMEDIATELY REPORT IT TO defense@energi.team AND ALWAYS PRACTICE CAUTION WITH YOUR PRIVATE KEYS AND WALLET INFORMATION!
1 - Requirements
- A Gen 3 wallet (which can be created with MyEnergiWallet)
2 - Migration
For additional information, please look at the following documentation from Coinomi: Energi (NRG) Gen3 swap
Energi Nexus simplifies the migration process from Coinomi, with easy steps to follow.
2.1 - Head over to Energi Nexus :
Energi Nexus our All-in-one platform
Head over the Migration section.
2.2 - Select the Mnemonic Phrase method (The format used for your phrase will be automatically detected).
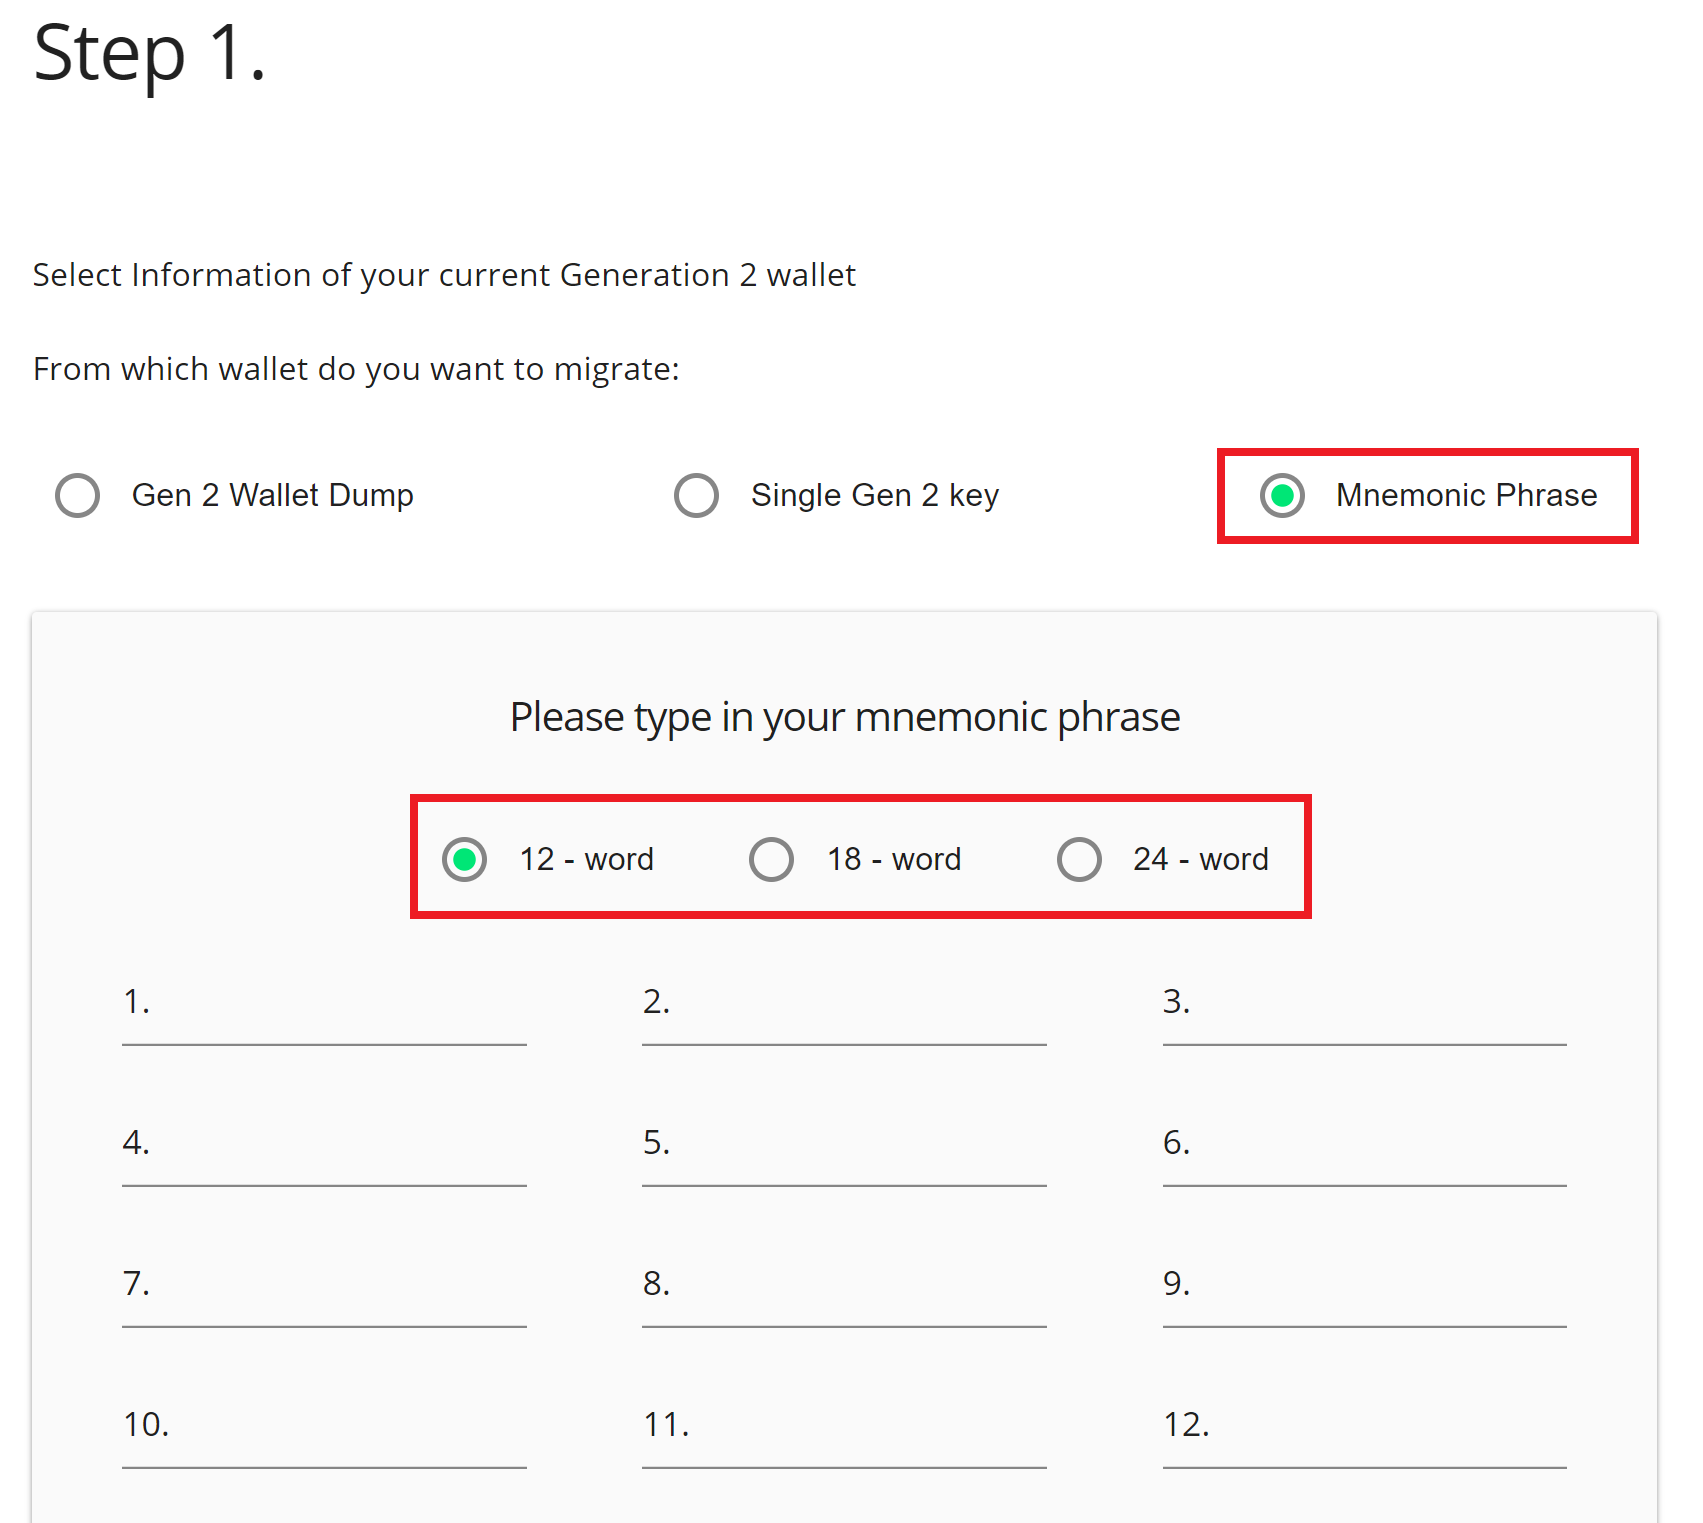
2.3 - Enter now the mnemonic phrase linked to your Coinomi App.
You would have saved your secret key phrase when you initially setup your Coinomi wallet.
2.4 - Make sure to recognize one of the NRG address displayed after entering your mnemonic phrase. Click on Use mnemonic phrase to validate the process.
2.5 - If done properly, you should now see Balance to be transferred, with your proper balance.
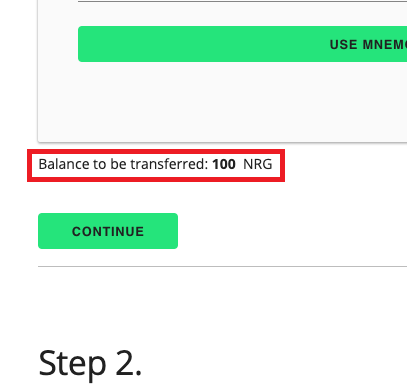
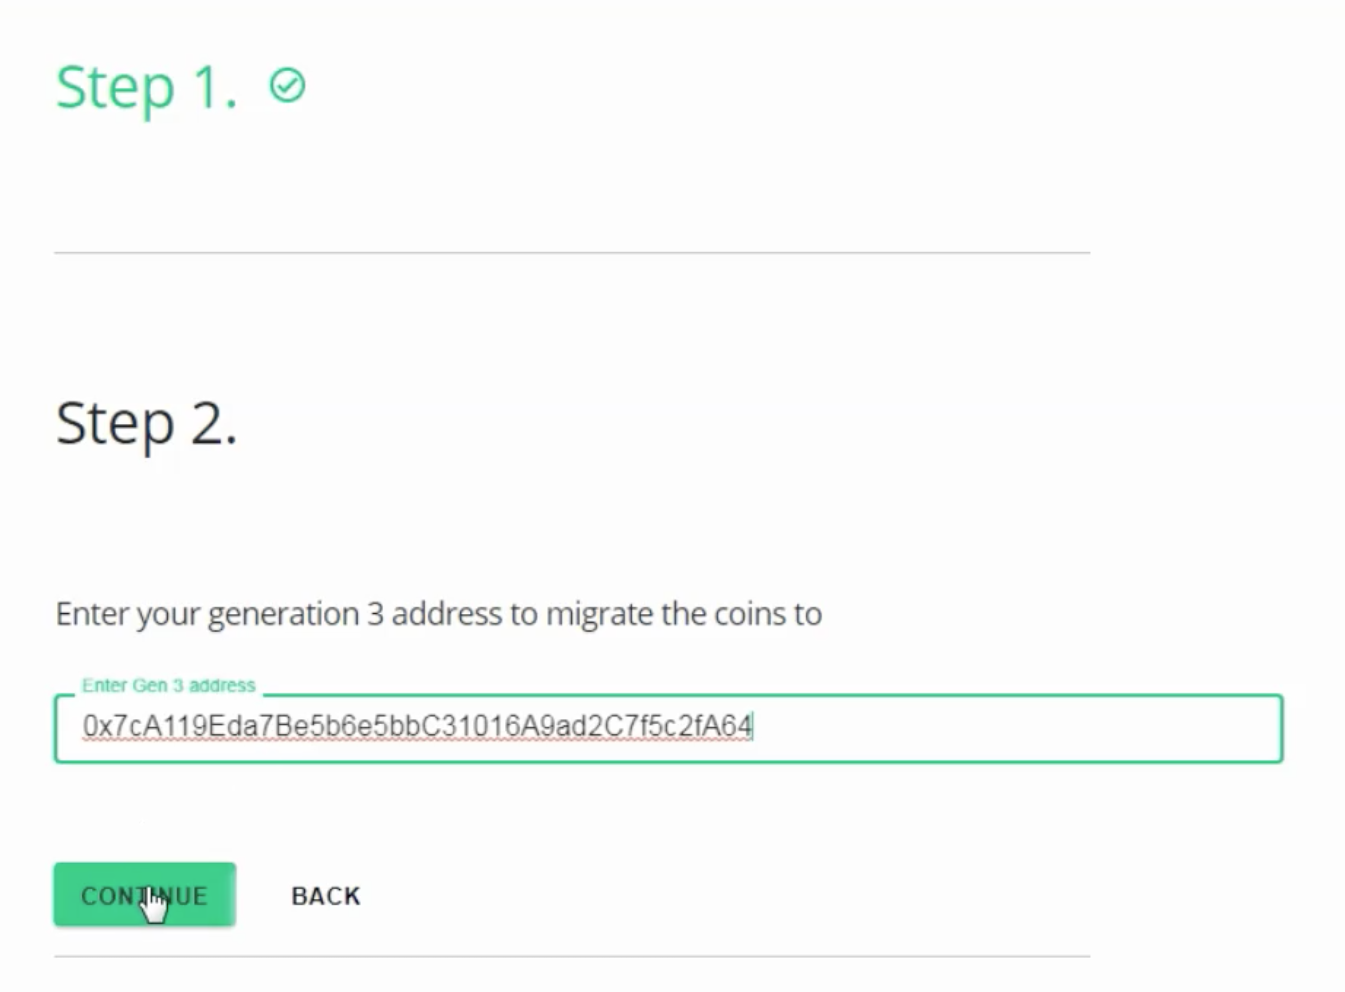
2.6 - Now, enter your Gen 3 address from your new MyEnergiWallet. Click on Continue.
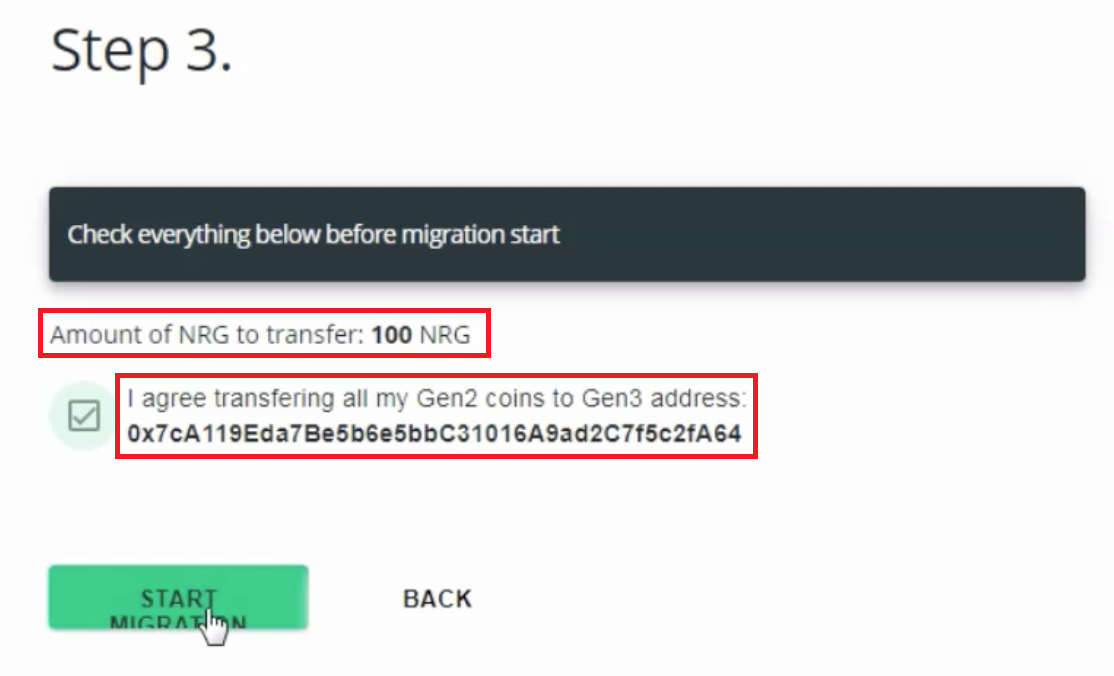
2.7 - Next, verify to make sure that everything is correct, click on the checkbox to agree, and click Start Migration when you’re ready.
2.8 - Wait for the confirmation.
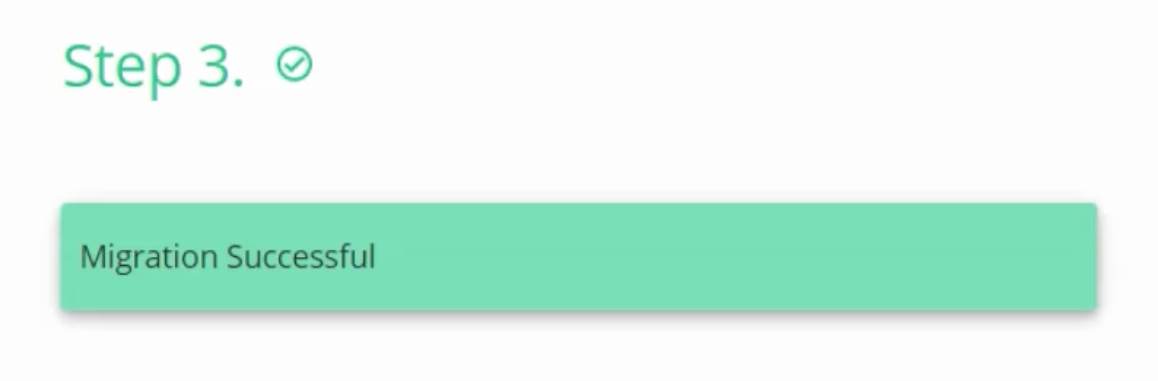
Now that the migration went successful, let's check your funds!
3 - Checking your funds
You can check your funds with MyEnergiWallet or with Energi Explorer.
Here are the steps with our Explorer.
3.1 - Head over to Energi Explorer :
Energi Explorer View Blockchain data
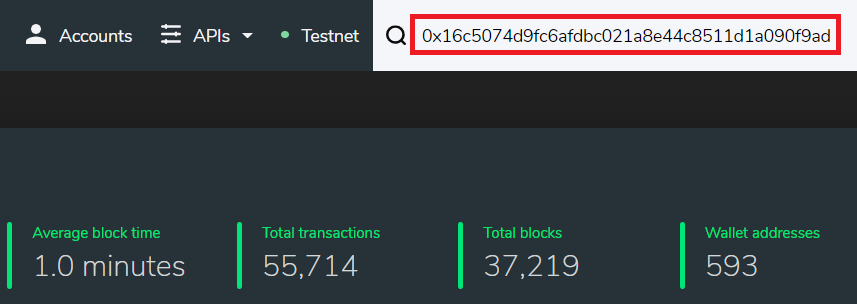
3.2 - Enter your wallet address in the top-right corner and press ENTER
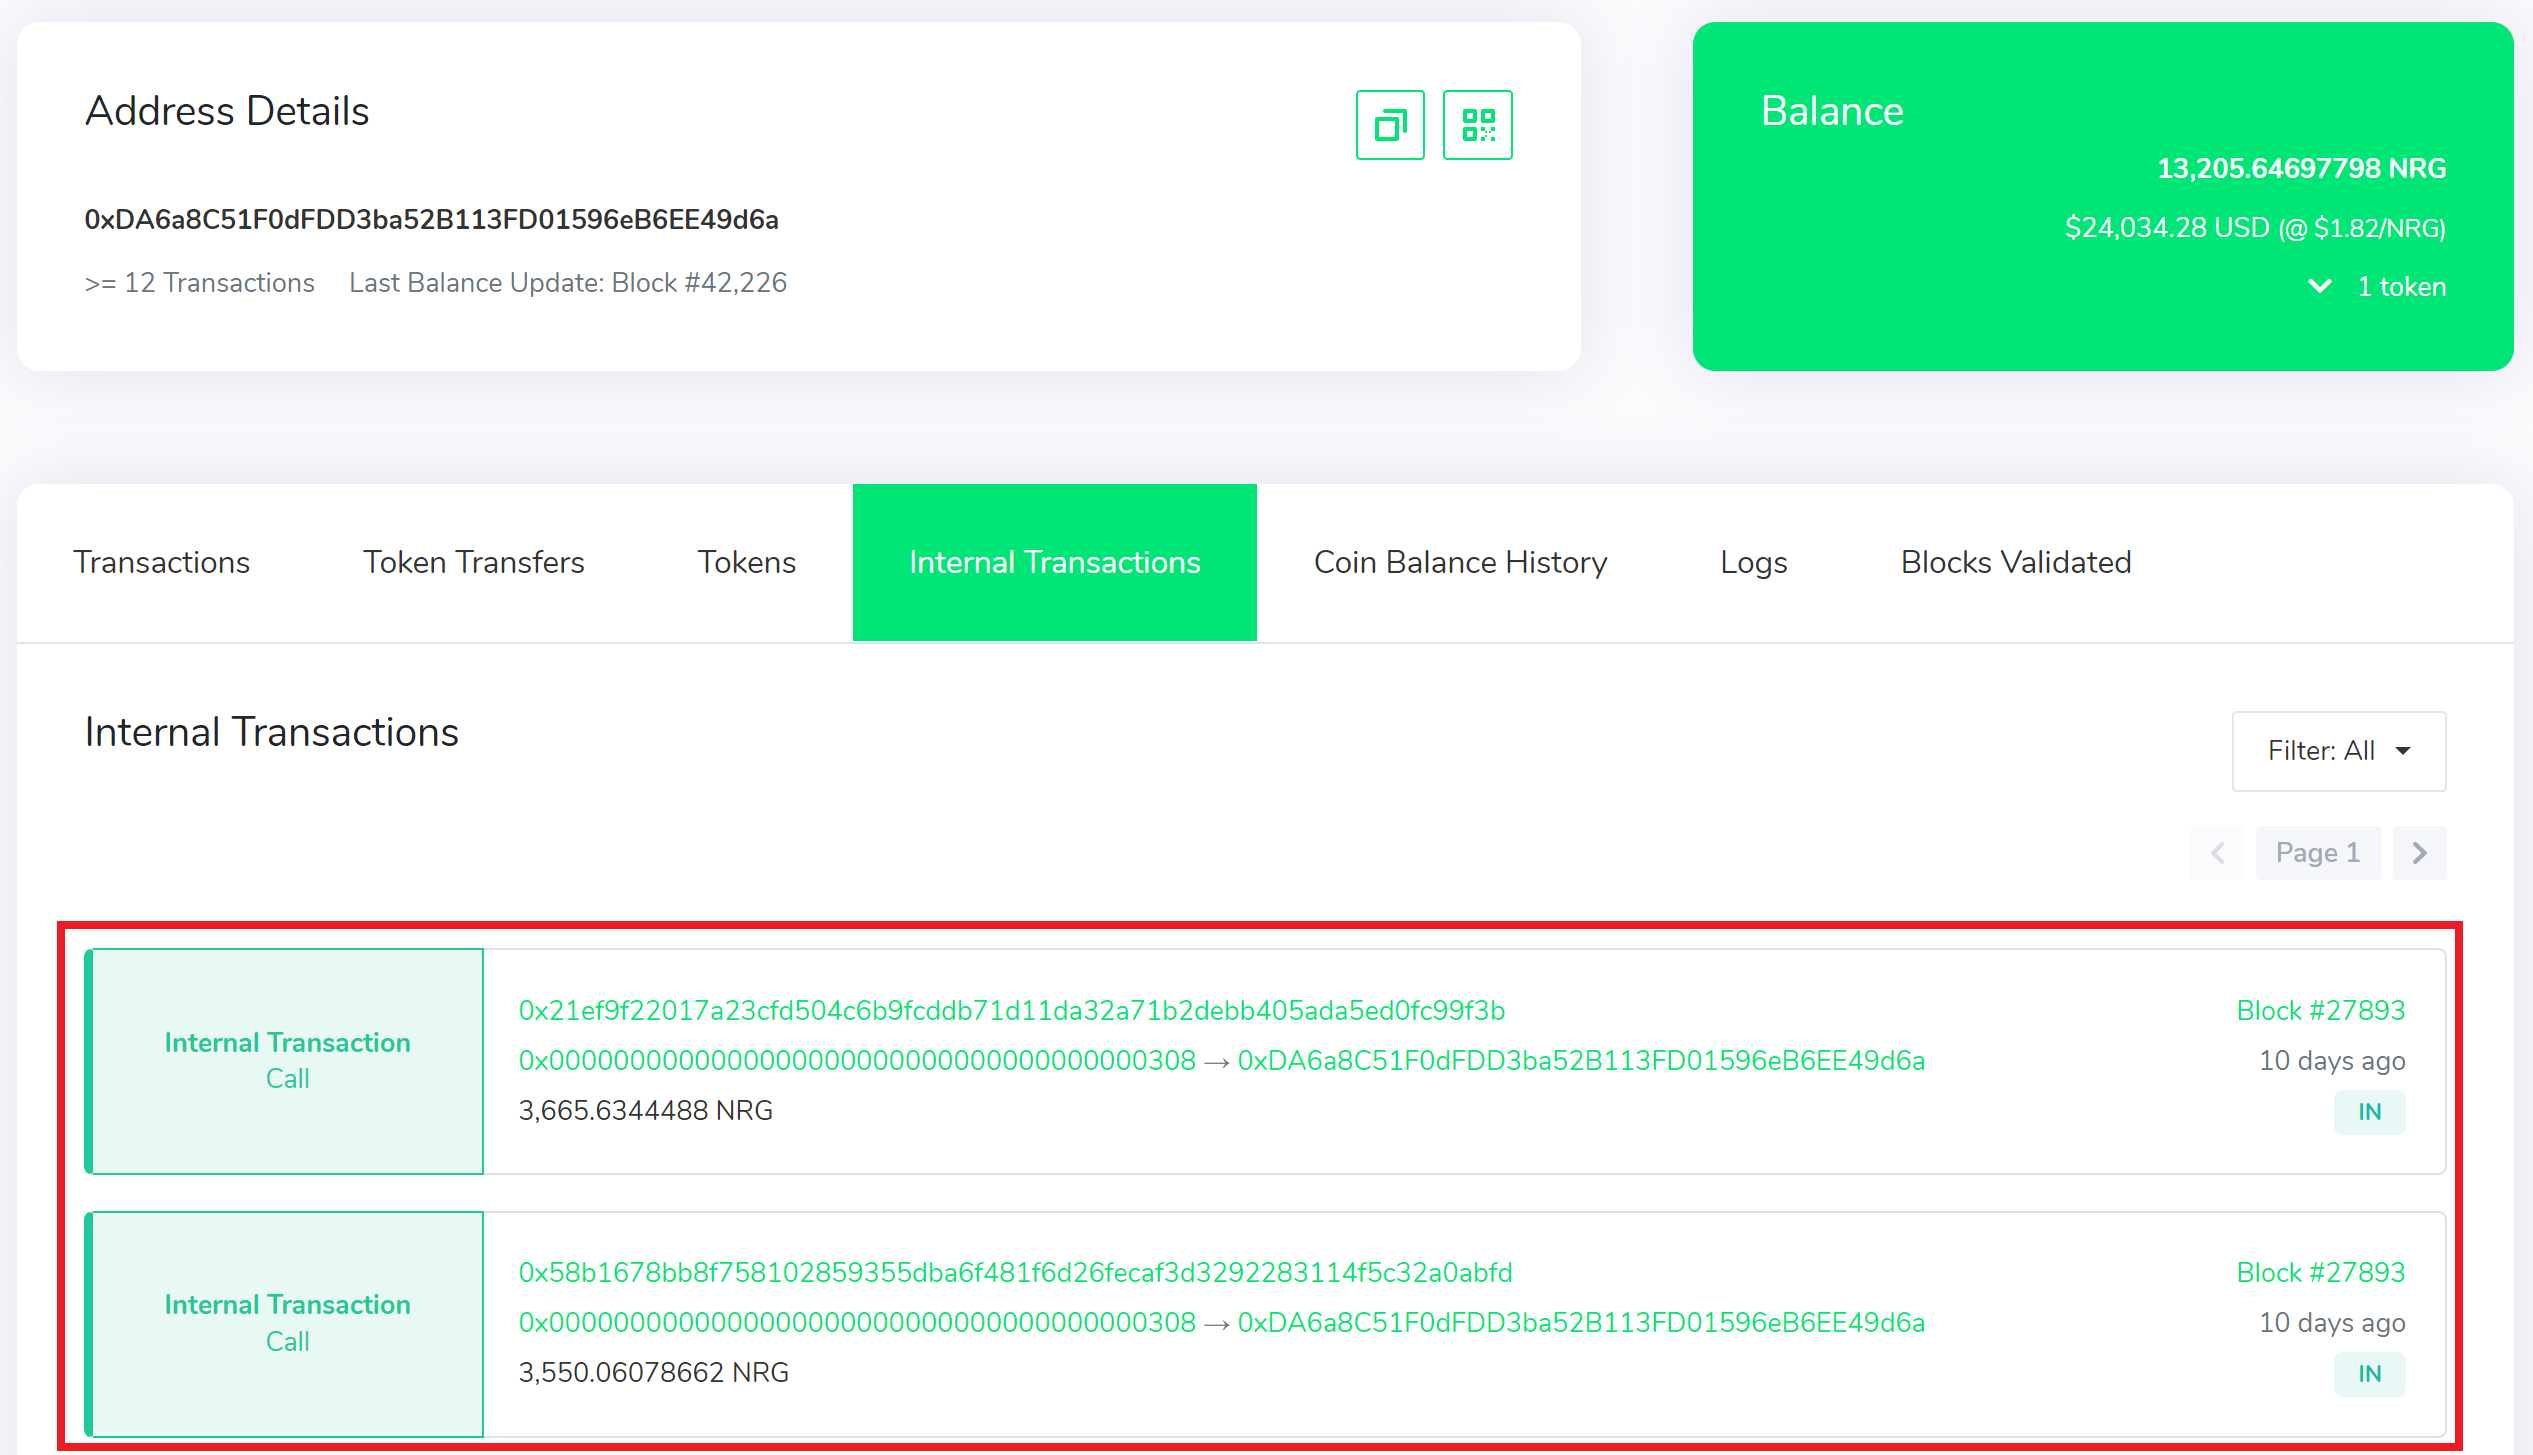
3.3 - Select Internal Transactions, you will now see you Gen 2 funds!
Congratulations! You have successfully tested the migration on Gen 3!
Next Step - Staking & Masternode
If you want to stake your coins or run a Masternode, you need to have Energi Core Node installed.
Energi Core Node on Windows
Energi Core Node on MacOS
Energi Core Node on Linux (VPS)
Need help?
- Head over our Migration FAQ :
- FAQ Migration
- Get technical assistance :
- Help me! Get technical assistance by the Energi team